How To Play Pickleball On A Tennis Court?
For a spectator that isn’t really familiar with all the characteristics of pickleball, they surely would find it much similar to tennis.
But then again, it certainly has its properties and even the court looks quite similar, right? Well, to burst the bubble, the answer to this might be a little anticlimactic since Pickleball in some aspects is the exact polar opposite.
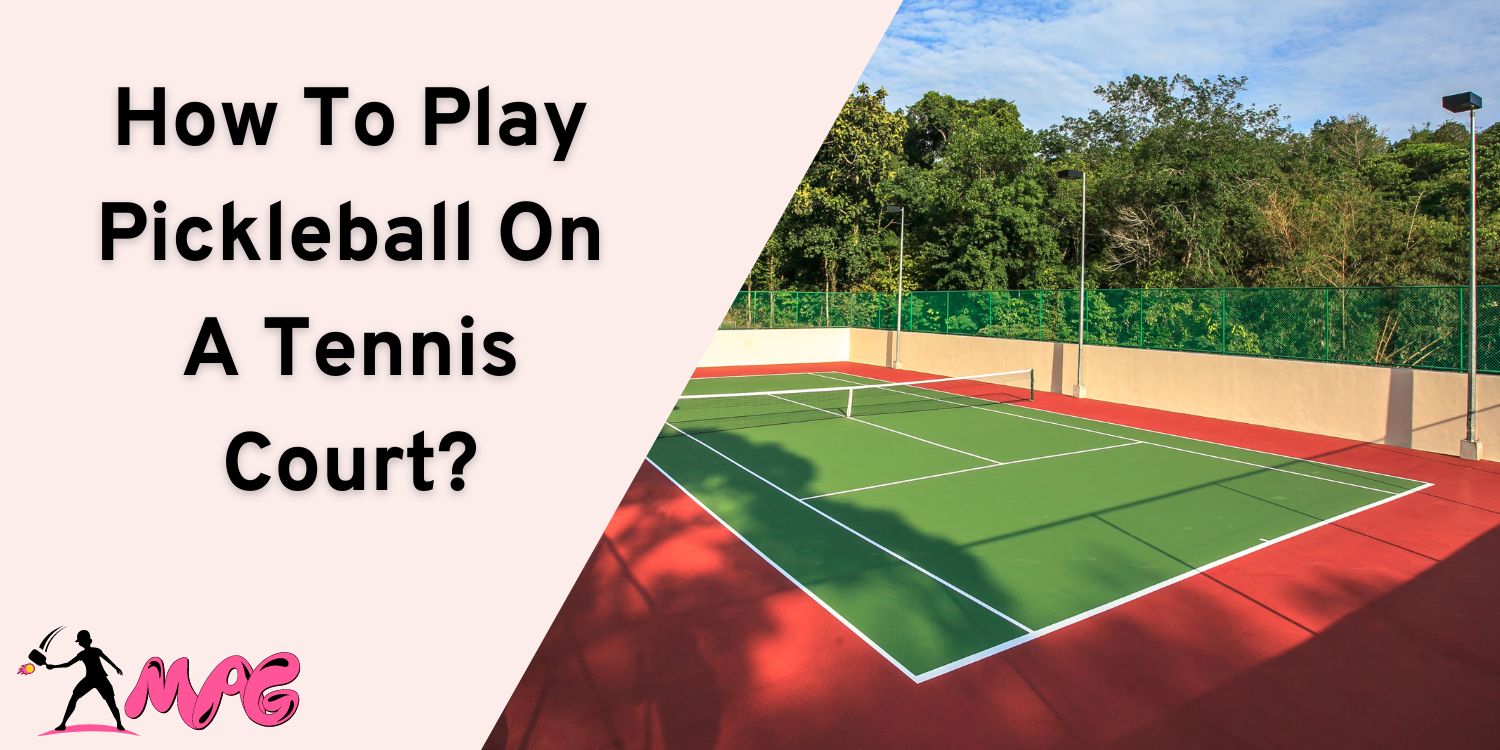
In fact, the court itself is off by a huge margin when compared to a tennis court. But that clearly doesn’t mean you couldn’t make any “unofficial” arrangements to make the court seem more favorable and “compatible” with your session.
Speaking of which, in this guide, I am going to shed some light on how to play pickleball on a tennis court. All you have to do is perform a couple of adjustments and you are all set!
Preliminaries To Play Pickleball On Tennis Court
These are the things necessitated before you proceed to play Pickleball on a tennis court.
1. Net Positioning
It goes without saying that tennis requires the net to be hung high at 42 inches while having a width of 36 inches in the middle.
For a pickleball game, it is indeed much lower, having a lenient dimension of 36 inches right in the middle while being 34 inches at either side of the post.
Keep in mind the width also has to be adjusted up to 21 feet and 9 inches approximately across each post.
2. Court Segmentation
Once you are done setting up the net, it’s time to assign segments especially if you are playing for doubles.
Divide each side into two segments respectively, it doesn’t matter whether you divide it with a visible marking tap or temporary paint.
Avoid using permanent paint, as it might be a direct violation of the public tennis court you might be playing on which might result in hefty fines.
3. Shrinking Court Dimensions
Tennis courts are considerably huge due to the nature of the game. The overall length of a typical tennis court ranges up to a whopping 120 feet with a width of 60 feet.
Meanwhile, a pickleball court is much smaller, in fact, ⅓ the size of it, so you would be required to shrink it down to the size of 20 feet in width with a length of 44 feet.
The shrinking process is simple, you just need to use temporary markers just like I have mentioned above.
On the other hand, I would advise against using chalk as a temporary marker since it can easily vanish once you start the session.
4. Setting up NVZ
Non-Volley Zone also known as Kitchen Zone has to be set up in the court, otherwise your court wouldn’t be compatible with the game.
Luckily for you, you don’t really have to go through the mambo jumbo as setting up a Non-Volley zone only requires you to make an intersection of 7 feet across each side of the net.
This zone will help you prevent volleying and also help you determine serving before the baseline.
5. Gathering Game Equipment
The most pivotal aspect of the sport, in fact, without having crucial equipment you wouldn’t be able to play it.
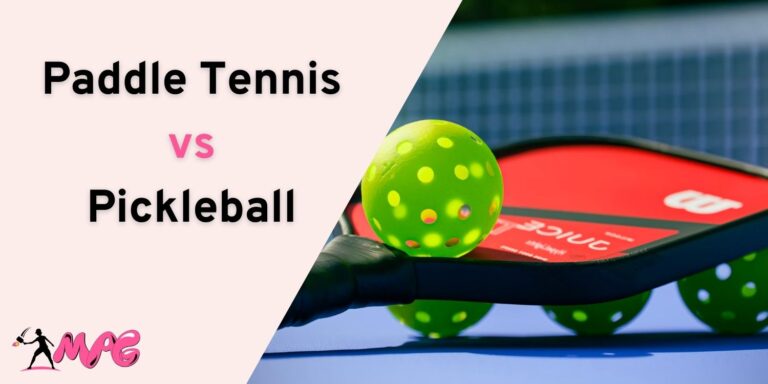
Before starting a session make sure you acquire two sets of wooden or graphite paddles while using a plastic ball with holes in it.
Make sure you choose a visible spectrum of a ball so you can easily play the game without having visibility issues.
As a precautionary measure, since this sport might get tedious, it’s better that you hydrate preemptively, so carrying a water bottle might be helpful in this scenario.
Bottom Line
It might take a while for you to get accustomed to your newly “DIY” pickleball court since the dimensions might seem a little off. Make sure you only maneuver through the assigned space rather than utilizing the full court because anything out of the boundaries is considered “out of bounds” resulting in a fault.
On the other hand, a net adjustment also has to be carried out precisely, otherwise, you will have problems during rallying as well as serving.
Nevertheless, it might seem a little tiresome but it’s totally worth it and is far better than creating your own private court from scratch since it would undoubtedly cost you a pretty penny.

